


 English
 中文简体
中文简体
 عربى
عربى

Content
- 1 What Exactly Is a WPC Assemble Door?
- 2 Why Choose a WPC Assemble Door Over Traditional Options?
- 3 Inside the Box: Components of a Typical WPC Assemble Door Kit
- 4 Step‑by‑Step: How to Assemble a WPC Assemble Door
- 5
- 6 How a WPC Assemble Door Performs in Different Rooms
- 7 Maintenance and Cleaning of Your WPC Assemble Door
- 8 Costs and Where to Buy a Good WPC Assemble Door
What Exactly Is a WPC Assemble Door?
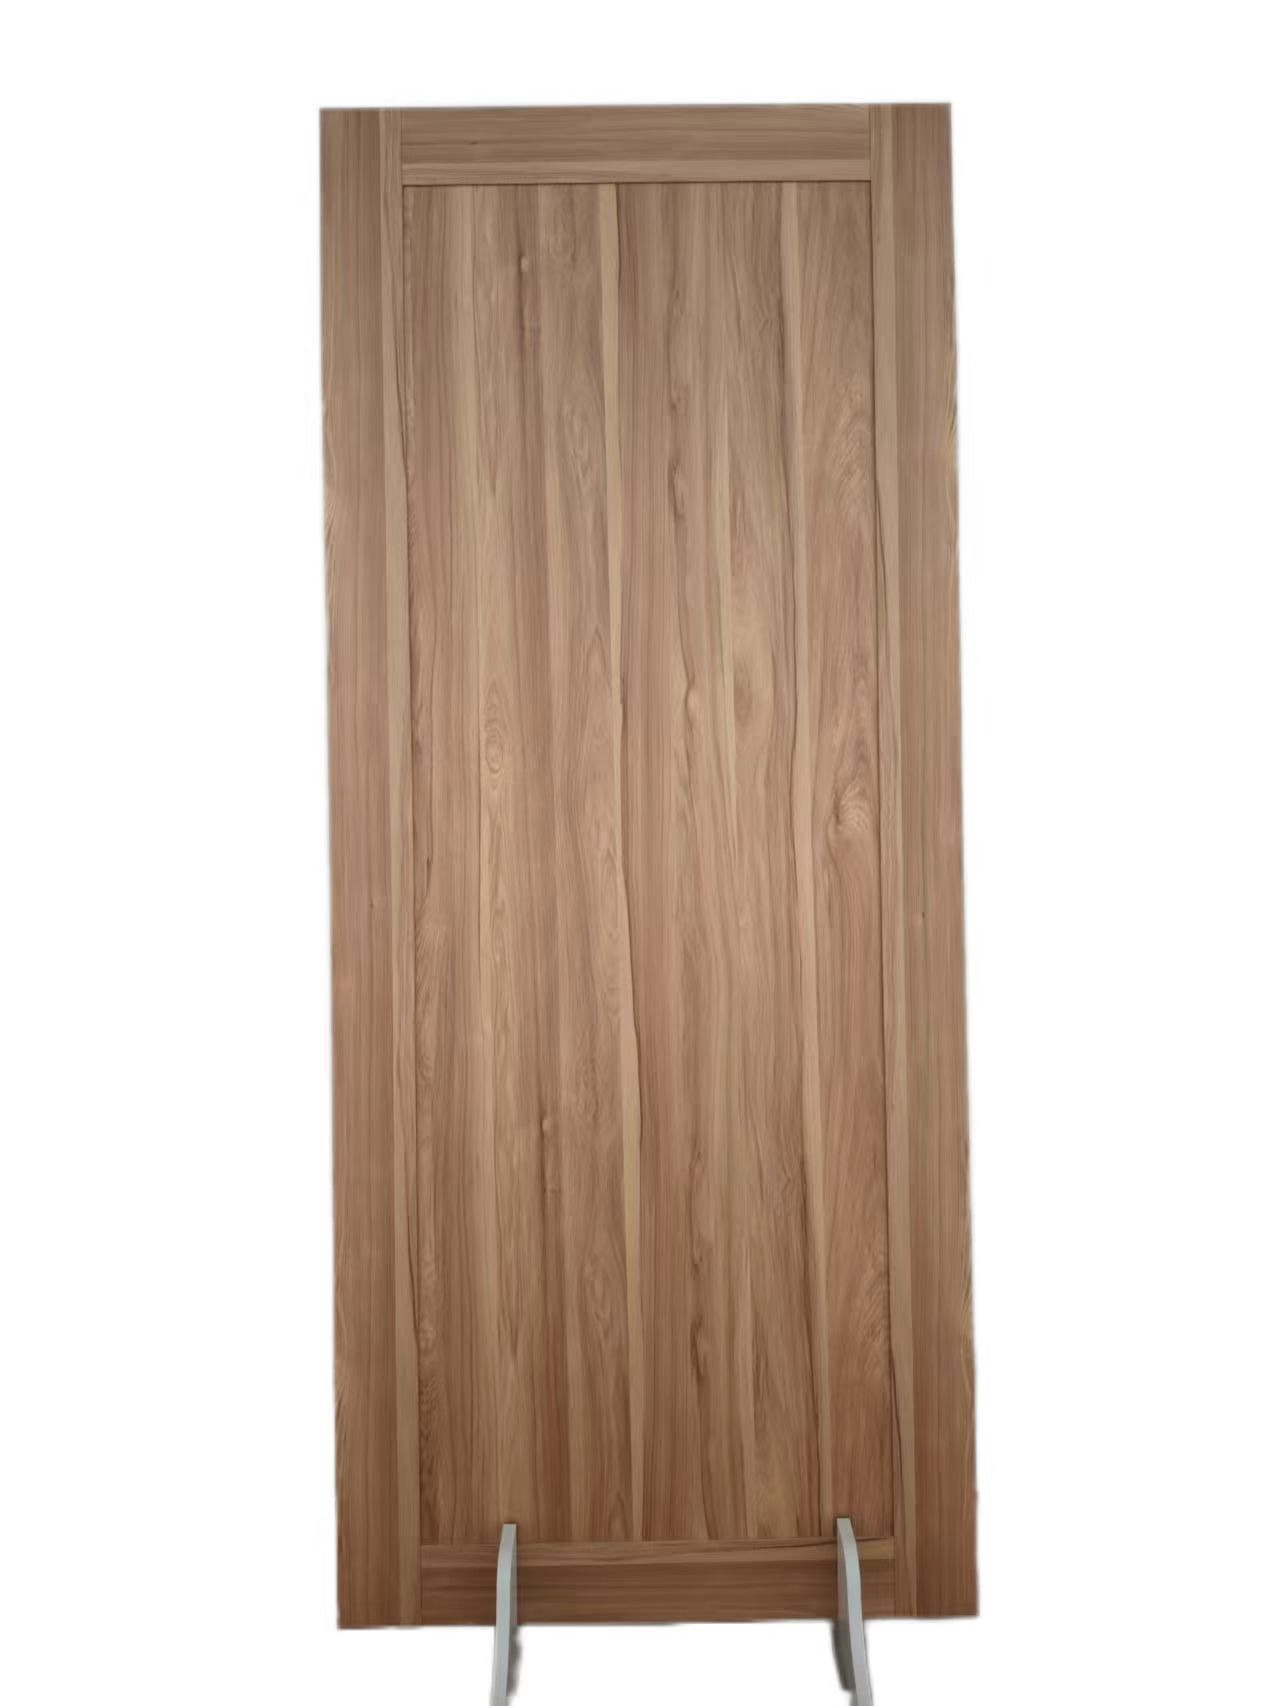
A WPC assemble door is a ready‑to‑fit door made from Wood Plastic Composite (a blend of recycled wood fibers and thermoplastics like PVC or PE), designed to be put together on site. Unlike a pre‑hung solid door, the WPC assemble door comes as a kit: door leaves, frame profiles, weather strips, and hardware are packed flat. You assemble the frame, attach the hinges, then hang the door. This modular approach makes shipping cheaper and allows custom sizing without a full carpenter shop. You’ve probably seen them in new apartments, hotel rooms, or bathroom remodels – they resist moisture far better than solid wood or MDF.
Why Choose a WPC Assemble Door Over Traditional Options?
The main selling point of a WPC assemble door is its stability in humid or changing environments. Wood swells and twists; steel dents and rusts. But WPC stays almost perfectly flat. Because it’s assembled from parts, you can also replace a damaged stile or a scratched panel without trashing the whole door. Plus, the assembly process lets you fine‑tune gaps on site – a huge advantage if your door frame isn’t perfectly square. Below is a quick comparison with common door types.
FeatureWPC Assemble DoorSolid Wood DoorHollow MDF DoorWater / humidity resistanceExcellent (no swelling)Poor (needs sealing)Very poor (edges swell)WeightMedium (25‑35 kg)Heavy (40‑60 kg)Light (10‑20 kg)Sound insulationGood (STC 28‑32)Very goodPoorDIY assembly friendlyYes – clear step‑by‑stepNo – requires pro joineryNo – glued skin is fragileTermite / rot resistanceYesNo (unless treated)NoTypical lifespan15‑25 years30+ years (if dry)5‑10 years
Inside the Box: Components of a Typical WPC Assemble Door Kit
Before you start assembling, unpack your WPC assemble door and check every part. Most kits include these pieces:
- Door leaf sections: Usually two hollow WPC slabs that interlock with internal battens, or a single molded panel for simpler designs.
- Frame profiles (jambs and head): Pre‑cut WPC channels with pre‑drilled alignment holes. Often three or four pieces.
- Connecting brackets & screws: Metal L‑brackets or plastic cam locks that join the frame corners tightly.
- Hinge hardware: Two or three stainless steel butt hinges with screws. Some kits use press‑fit hinges.
- Magnetic latch or privacy lock: A latch mechanism plus a strike plate.
- Weather seals: Rubber or silicone strips that snap into grooves on the frame.
- Assembly instructions and a hex key (if needed).
Make sure you have all parts. Missing a single bracket can make the WPC assemble door wobble after installation.
Tools You’ll Need (No Professional Workshop Required)
Unlike solid wood doors, a WPC assemble door is designed for average DIYers. You don’t need a table saw or a mortiser. Just gather these basic tools:
- Rubber mallet – to tap frame profiles together without marring the WPC surface.
- Phillips screwdriver (or drill with torque setting) – for brackets and hinges. Use low torque to avoid stripping pilot holes.
- Measuring tape and a carpenter’s square – to ensure frame corners are perfectly 90°.
- Level (min 600mm / 2ft) – for aligning the assembled frame in the rough opening.
- Shims (plastic or wood) – to plumb the frame before screwing it to the wall.
- Utility knife – for trimming weather seals.
Step‑by‑Step: How to Assemble a WPC Assemble Door
Follow these practical steps to get a solid, gap‑free WPC assemble door. Work on a flat, clean floor (carpet or cardboard prevents scratches).
- Step 1 – Dry‑fit the frame: Lay the head profile across the two vertical jambs. Slide the brackets into the hollow channels. Tap gently with a mallet until the corner seams close. Check squareness – the diagonal measurements should differ by less than 2mm.
- Step 2 – Secure the corners: Using the supplied screws, fasten each corner bracket. For plastic cam locks, turn the screw until a click is heard. Do not overtighten – WPC can crack under extreme torque.
- Step 3 – Install the weather seals: Press the rubber strip into the groove that runs along the stop side of the frame. Start from the top center and work down both sides. Leave a tiny 1mm gap at corners to prevent buckling.
- Step 4 – Assemble the door leaf: If your WPC assemble door uses interlocking stiles and panels, slide the panels into the grooves of the stiles, then hammer the end caps. For a one‑piece leaf, you’re ready for hinges.
- Step 5 – Attach hinges to the leaf: Mark hinge positions 200mm from top and bottom (plus one center hinge if leaf height > 2000mm). Use the included pilot holes or drill 2mm pilot holes. Screw hinges tightly but stop when the head just touches the surface – WPC has lower pull‑out strength than wood, so don’t strip it.
- Step 6 – Mount the leaf onto the frame: With the frame lying flat, position the leaf inside, leaving a 3‑4mm gap on the hinge side and 2‑3mm at the top. Screw the hinge’s other wing to the frame jamb. Lift the entire assembly into the rough opening – best with a helper.
- Step 7 – Install the latch and strike plate: Insert the latch into the pre‑cut pocket on the leaf’s edge, screw it, then screw the strike plate onto the frame jamb. Check that the latch bolt slides smoothly into the strike hole.
Common Assembly Mistakes and How to Avoid Them
Even with a quality WPC assemble door, small errors cause big headaches later. Watch out for these:
- Skipping the dry‑fit test: If the frame corners are not square, the door will rub. Always measure diagonals before final screwing.
- Using power tools at full speed: WPC material is softer than hardwood. A high‑speed drill can spin out a pilot hole. Use a screwdriver or drill on speed 1 (low torque).
- Forgetting to leave expansion gaps: WPC expands slightly with heat (about 0.5mm per meter). Leave 2‑3mm gap at the top and sides. If the leaf touches the frame on a hot day, the door will stick.
- Ignoring the floor clearance: At the bottom, leave 8‑10mm for carpet or 5‑6mm for hard floors. If you cut it too tight, the door will scrape any floor mat.
- Not shimming the frame in the wall opening: The rough opening is rarely perfect. Even a 5mm tilt in the wall will twist the frame. Use shims behind the jambs at hinge and lock points, then screw through the shims.
How a WPC Assemble Door Performs in Different Rooms
Not every room is ideal for every door material. Here’s where a WPC assemble door shines – and where you might think twice:
- Bathrooms and laundry rooms: Perfect. The WPC core is waterproof, and the assembled frame resists steam warping. Pair with stainless steel hinges to avoid rust.
- Kitchens: Good, but keep direct splashing of cooking oil to a minimum – oil can soften some WPC formulations over years.
- Main entry door (covered porch): Only if it’s a reinforced version with thicker skins (≥ 40mm). Most WPC assemble doors are for interior use; UV exposure may fade colors.
- Bedrooms and closets: Excellent – lightweight operation and good sound privacy. The hollow WPC assemble door provides enough acoustic isolation for normal conversation.
- Garages (uninsulated): Not recommended. Extreme cold (below -15°C) can make some WPC blends brittle, and the assembly joints may contract, creating visible gaps.
Maintenance and Cleaning of Your WPC Assemble Door
One big advantage of a WPC assemble door is low maintenance. Unlike wood, you never need varnish, paint, or stain. However, a few simple habits keep it looking new for 15+ years.
- Cleaning: Wipe with a damp microfiber cloth and mild dish soap once a month. Avoid abrasive powders or melamine sponges – they can scratch the textured surface.
- Hardware check every 6 months: Screws can back out due to door slamming. Use a screwdriver to snug all hinge and latch screws, but don’t overtighten.
- Lubricate the lock and hinges: A drop of silicone spray on the latch bolt and hinge pins prevents squeaks. Do not use WD‑40 as a long‑term lubricant – it attracts dust.
- Inspect weather seals: If the rubber strip becomes flat or torn, drafts and noise increase. Replacement seals are cheap and simply press into the groove.
- Removing surface stains: For coffee, ink, or marker, use isopropyl alcohol (70%) on a cloth, rub gently, then wipe with water. Test on an invisible edge first.
Costs and Where to Buy a Good WPC Assemble Door
Prices vary widely by brand, thickness (35mm vs 45mm), and finish (wood grain laminate vs plain white). As of 2025, a standard interior WPC assemble door kit costs between $80 and $250 USD. Premium acoustic or fire‑rated models go up to $400. Compare that to a solid wood pre‑hung door at $350–$800, and the value is clear. Most home improvement stores (Home Depot, Lowe’s, Bunnings) stock at least one line of WPC assemble doors. Online specialty retailers like Doors4Home or WPC Direct offer custom widths and color matching. Always check the assembly instructions before buying – some cheap kits have poorly labeled parts and missing hardware.
What the Price Includes (and What It Doesn’t)
When you budget for a WPC assemble door, note that the kit usually does not include the door frame rough opening lumber, shims, or trim (architraves). You’ll also need to buy door handles separately if the kit only includes a basic latch. Read the fine print: some sellers sell “door slab only” without frame profiles. For a true ready‑to‑assemble WPC door, the product title must say “frame + leaf kit”.
- Basic 35mm white WPC assemble door with frame: ~$100–130
- 45mm wood grain WPC assemble door with premium seals: ~$180–250
- Fire‑rated (FD30) WPC assemble door for apartments: ~$280–400
- Delivery cost (oversized package): often $30–80 extra.
If you’re a landlord or builder, buying a pallet of 10–20 WPC assemble doors can cut per‑unit cost by 30%.


